
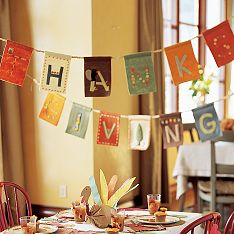
 I loved this Thanksgiving banner I saw recently in Pottery Barn Kids, but at a whopping $79, let's just say it was way out of my price range! So, I decided to make my own.
I had a goal of using only things I had already on hand, but I did need some of the felt pieces to make the banner - so I spent about $1 on this project. Here are the details:
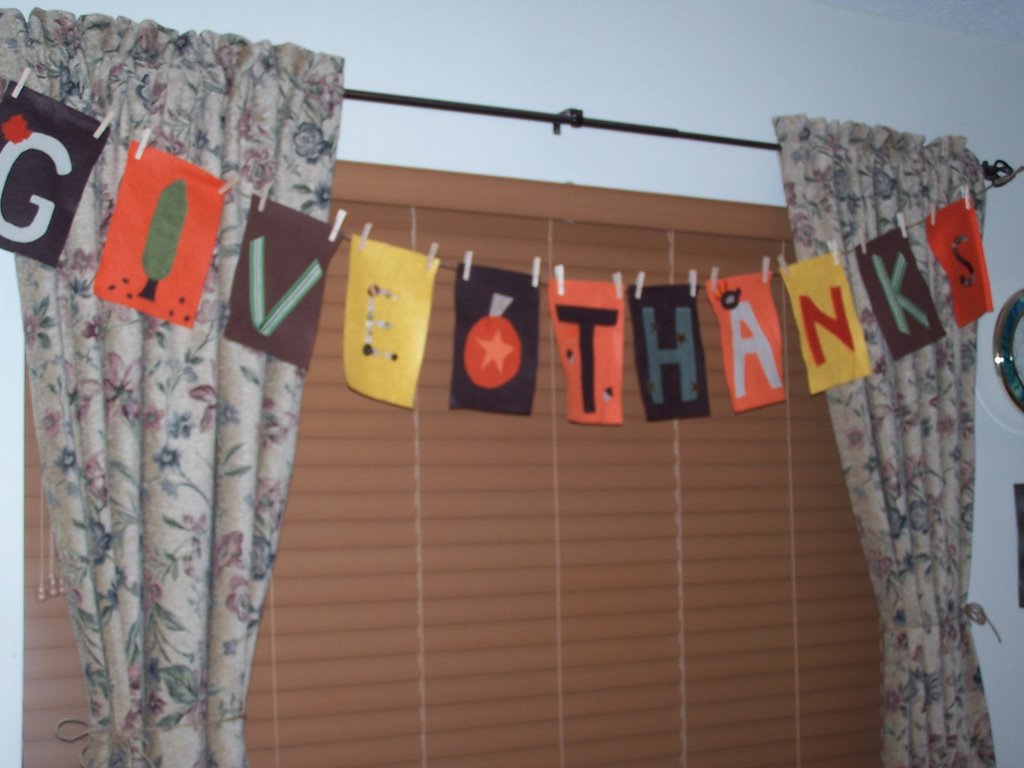
* First of all, since I was making my own - I decided I wanted it to say "Give Thanks", so I needed eleven pieces of felt. Each of these pieces is one half of the craft-size pieces available at Wal-Mart or a craft supply store for about 20 cents.
* Then I pulled out scraps of fabric, ribbon, my button jar, etc... and planned out each letter.
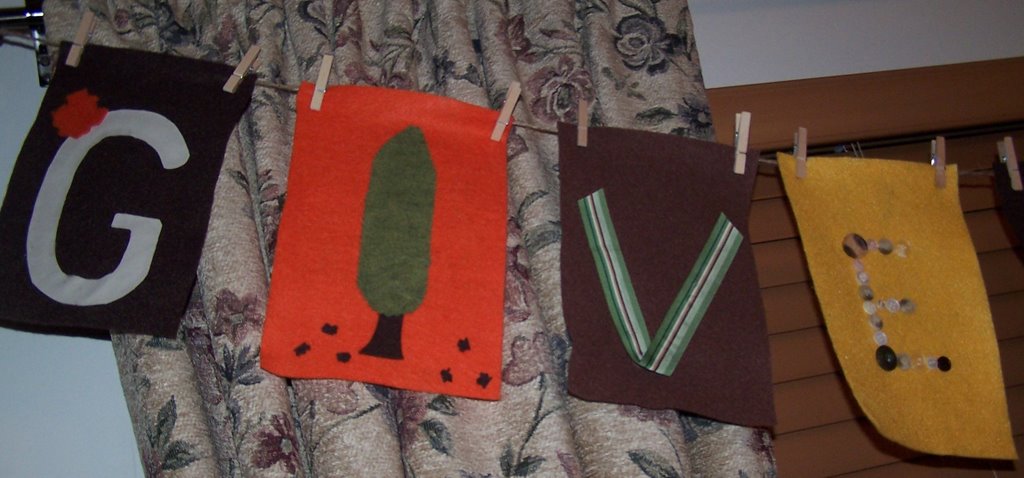 * G: cut the letter out of a scrap of khaki fabric and made a maple leaf using a cookie cutter and some scraps of fleece orange fabric.
* I: used the idea from the PBK banner to make a tree - used scraps of felt and little snips of felt for leaves around the bottom. I cut these with pinking shears to make them look leaf-like.
* V: ribbon scrap
* E: button jar - these are buttons saved from clothes that were worn out or from new buttons that came with clothing items I have had. I have also been known to pick up a stray button in a parking lot and add it to my jar!
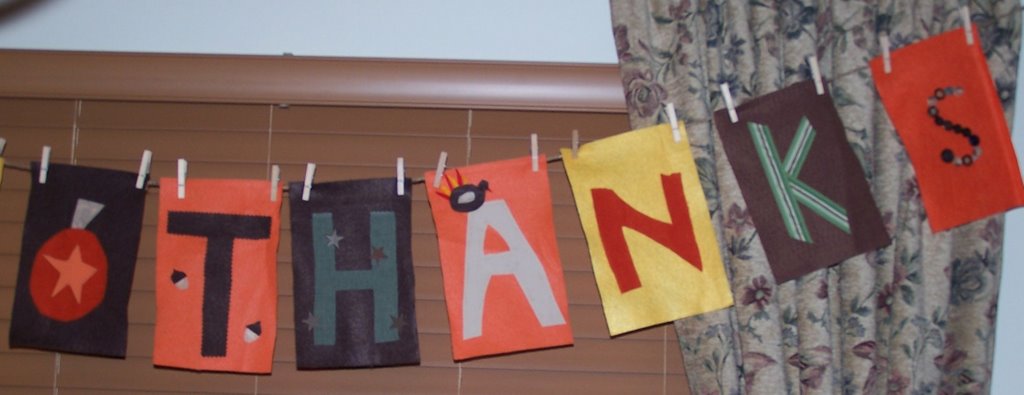 * Space: I needed a space between these two words, so took this idea from my pumpkin pillow and made a primitive looking pumpkin from leftover fabric and felt scrap.
* T: felt scraps - cut out with pinking shears; little acorns made of scraps
* H: fabric scrap from a dog bed with tin rusty stars glued on
* A: same as G for fabric, then I made a little turkey out of scraps of felt for the top
* N: fabric scrap
* K: ribbon scrap
* S: button jar
* Then I hung a length of twine across our dining room window and used these mini clothespins to attach them. You could also just glue the twine to the felt to attach if you don't have the clothespins. I used tacky glue to attach everything together - though hot glue may work as well.
11 comments:
That is adorable! What a cute idea!
Okay, once again, WOW! Your product looks fabulous! And who in their right mind would spend $79 on a banner??? I am impressed that you were able to make this for so little.
I have seen a lot of Thanksgiving banners on the different blogs this season but I think I like yours best! It is so adorable and no one would ever believe how inexpensive it was. Great idea:)
That's Darling
Love the banner! I bet it was really fun to make. You have inspired me to make my own. thanks, amy
Once again another great idea and it doesn't cost a lot either.
Thanks
Blessings
Lisa
Monica, I love reading your blog! I wait a long time in between readings and then eat 'til I'm full on your creative ideas.
I paid way too much money to PB for their cute letters (for Livia's nursery) and then saw similiar letters at Walmart. Grrr. I love your banner. Looks beautiful.
-Rebecca T.
That is just PERFECT! What a warm, charming, homey touch. I sooo wish I had seen this sooner.
Great idea! Gonna use that one.
We're busy with preparations over here, too!
Thanks for this wonderful idea. I just finished making one for oour big family dinner. You're an inspiration.
I made one! I love the idea. Thanks!
Less than $2, too. I did mine a bit different, and should have put a spacer between the words, but I think you can still read it. We hung it on the mantel. Its going to liven up our day tomorrow. Thanks!
Post a Comment